How to Create a Storage Unit Inventory List: Step-by-Step |
| HOW TO CREATE A STORAGE UNIT INVENTORY LIST
⏱ 10 min read ·
📄 #1,827 words
Learn how to create a storage unit inventory list with our complete guide. Includes free templates, labeling systems, and tracking methods that save time.
|

A storage unit inventory list is a detailed record of every item in your unit, organized by category, box number, and location. Creating one takes 30 to 60 minutes for a typical 10x10 unit and reduces retrieval time by up to 75 percent, according to the Self Storage Association's 2025 customer experience report.
| Key Points: | |
|---|---|
| • | Choose your format: spreadsheet apps like Google Sheets or Microsoft Excel work best for searchability |
| • | Label every box with a unique ID number before loading into your unit |
| • | Record item descriptions, condition, estimated value, and exact box location |
| • | Update your inventory within 24 hours of adding or removing items |
| • | Store backup copies in cloud storage and keep one physical copy at home |
Why You Need a Storage Unit Inventory List
A 2024 survey by SpareFoot found that 67 percent of storage renters cannot locate specific items within 10 minutes of arriving at their unit. This wastes an average of 2.3 hours per month for active storage users. An inventory list eliminates this problem entirely.
Insurance claims provide another critical reason. The Insurance Information Institute reports that claims without detailed inventory documentation are denied 40 percent more often than those with complete records. Your storage protection plan works best when paired with thorough documentation.
For business owners, inventory tracking is essential for tax purposes. The IRS requires records of stored business assets, and a proper inventory list satisfies documentation requirements during audits.
Step 1: Choose Your Inventory Method
Your tracking method determines how easily you can search, update, and share your inventory. Digital methods offer searchability and cloud backup, while paper methods require no technology skills.
| Method | Best For | Pros | Cons |
|---|---|---|---|
| Google Sheets | Most users | Free, searchable, auto-saves to cloud | Requires internet for sync |
| Microsoft Excel | Business users | Advanced formulas, works offline | Requires software purchase |
| Sortly App | Visual organizers | Photo integration, barcode scanning | Free tier limited to 100 items |
| Encircle | Insurance documentation | Insurance-ready reports | Premium features cost $9.99 per month |
| Paper Notebook | Small units under 5x10 | No technology needed | Not searchable, can be lost |
According to a 2025 National Association of Professional Organizers study, digital inventory methods reduce item retrieval time by 62 percent compared to paper lists. Google Sheets remains the most popular choice, used by 43 percent of organized storage renters.
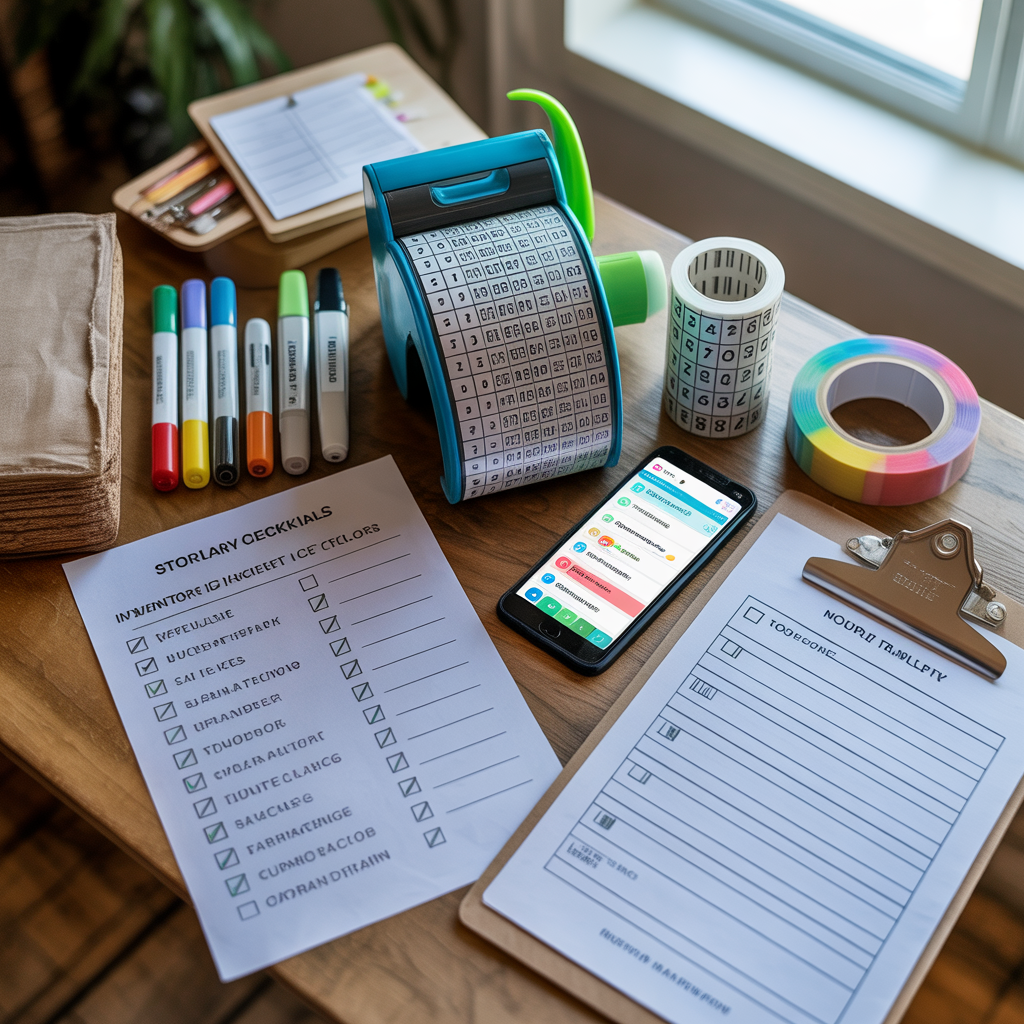
Step 2: Gather Your Inventory Supplies
Before you begin cataloging, collect these essential supplies. Having everything ready reduces total inventory time by approximately 40 percent.
Required supplies:
- Permanent markers in black and one highlight color
- Packing tape dispenser
- Box labels or masking tape for labeling
- Smartphone or camera for photos
- Measuring tape for furniture dimensions
- Clipboard or tablet for recording
Optional but helpful:
- Barcode labels from Amazon or Avery, approximately $15 for 500 labels
- Handheld label maker such as Brother P-Touch or DYMO, ranging from $20 to $50
- Color-coded stickers for category identification
Step 3: Create Your Inventory Template
Your template needs seven essential columns to track items effectively. This structure follows the format recommended by the American Moving and Storage Association for insurance documentation.
Essential columns for your inventory spreadsheet:
- Box or Item ID: Unique identifier like A1, A2, B1, B2
- Category: Kitchen, bedroom, electronics, seasonal, documents
- Item Description: Specific details, not just "kitchen stuff"
- Quantity: Number of items in box or individual count
- Condition: New, excellent, good, fair, or poor
- Estimated Value: Replacement cost for insurance purposes
- Location in Unit: Front left, back right, stacked on B3
Free inventory templates are available from several sources. The National Storage Association offers a downloadable Excel template. Google Sheets includes a home inventory template in its template gallery. Sortly provides a free PDF printable for manual tracking.
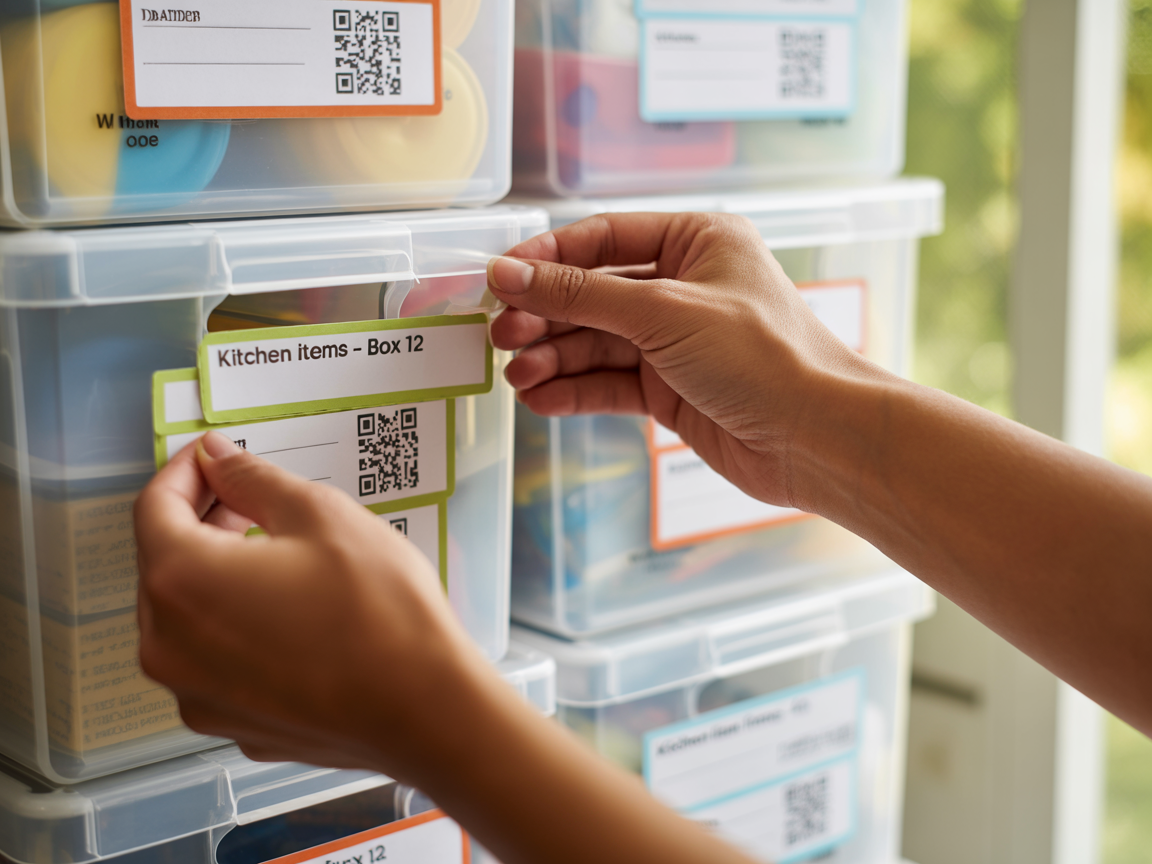
Step 4: Label Everything Before Loading
Label each box before it enters your storage unit, not after. Research from Extra Space Storage shows that pre-labeled boxes are located 3.2 times faster than boxes labeled after placement.
Effective labeling system:
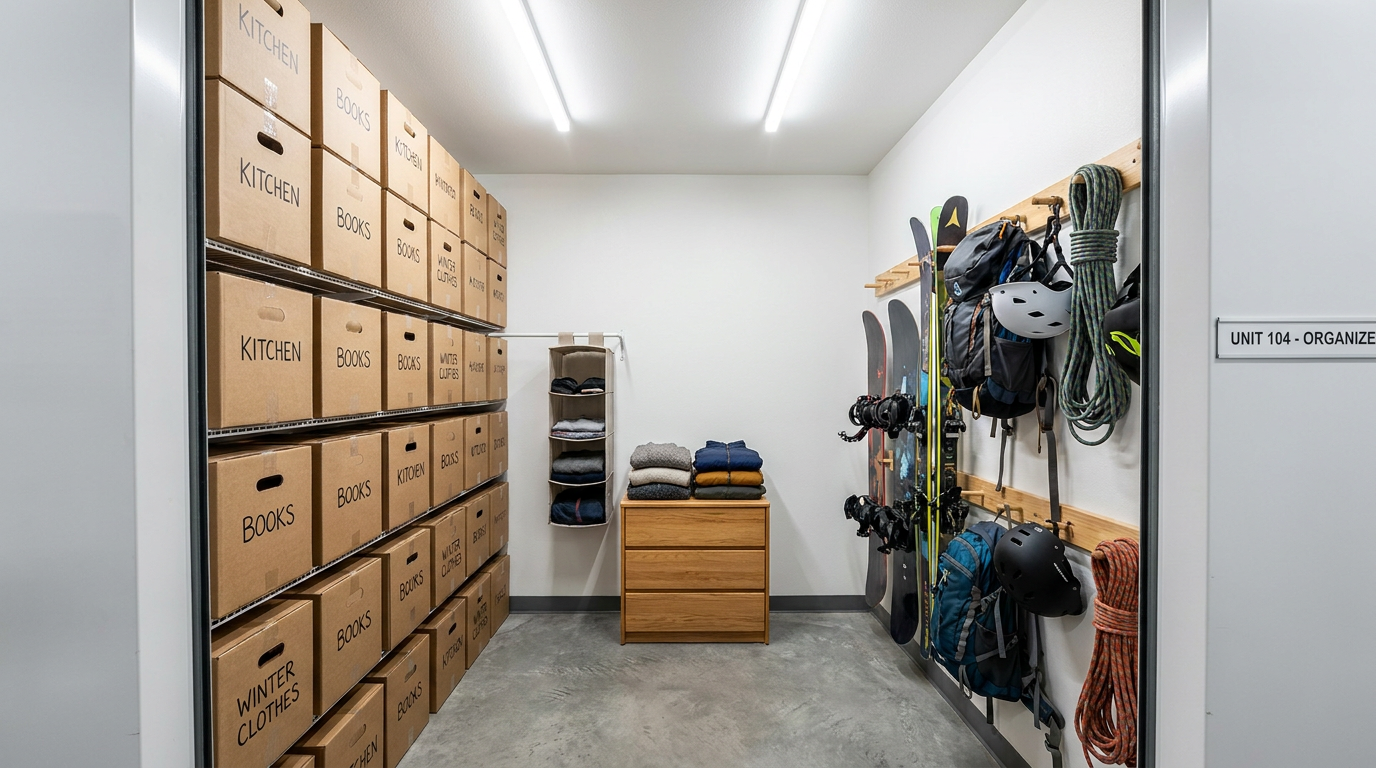
Use a letter and number combination. The letter represents the category: K for kitchen, B for bedroom, E for electronics, S for seasonal, D for documents. The number indicates the sequence within that category. Your first kitchen box becomes K1, the second becomes K2.
Write labels on at least two sides of each box, plus the top. When boxes are stacked, you can still identify contents without unstacking. Use permanent marker directly on cardboard or apply adhesive labels.
For furniture and large items, attach a tag with painter's tape. Include the item name, dimensions, and any assembly notes. A tag reading "Dining table, 72x36 inches, legs detached in box F3" saves significant time during retrieval.
Step 5: Record Contents at the Right Detail Level
The Self Storage Association recommends different detail levels based on item value. Over-documenting low-value items wastes time, while under-documenting valuables creates insurance problems.
High detail (items over $100): Individual listing with brand, model number, serial number if applicable, purchase date, and photo. Example: "Sony WH-1000XM5 headphones, serial 12345, purchased March 2024, excellent condition, $350 value."
Medium detail (items $25 to $100): Individual listing with description and condition. Example: "KitchenAid hand mixer, red, good condition, $45 value."
Low detail (items under $25): Group by category with quantity. Example: "Kitchen utensils, approximately 30 items, good condition, $75 total value."
Choosing the right storage unit size affects how you organize and document items. Larger units allow more space between categories, making inventory management simpler.
Step 6: Photograph Your Items
Photos serve as visual proof for insurance claims and help you remember exactly what you stored. According to Allstate Insurance, claims with photographic documentation are processed 45 percent faster than those without.
Photography best practices:
Take one photo of each box's contents before sealing. Lay items flat and photograph from directly above for clarity. For electronics, photograph serial number labels. For furniture, capture any existing damage to avoid disputes later.
Store photos in a dedicated cloud folder using Google Photos, iCloud, or Dropbox. Name each photo to match your inventory ID: K1-contents.jpg, K2-contents.jpg. This naming convention allows quick cross-referencing with your spreadsheet.
Create a final photo of your entire unit after loading. This overview shot shows item placement and helps you remember the layout months later.
Step 7: Map Your Unit Layout
A simple diagram showing where each box or item sits in your unit reduces retrieval time dramatically. The Professional Organizers Association found that mapped units allow 80 percent faster item location compared to unmapped units.
Draw a basic rectangle representing your unit footprint. Divide it into a grid: front left, front right, back left, back right. Add a center section for units larger than 5x10. Mark where each labeled box sits within this grid.
Update your map whenever you access the unit. A quick smartphone photo of your map provides a backup. Some renters tape a laminated copy of their map inside the unit door for reference during visits.
How to Keep Track of Items in Storage Long-Term
Creating an inventory is only the first step. Maintaining accurate records requires consistent updates and periodic audits.
Update within 24 hours: Any time you add or remove items, update your inventory immediately. Waiting longer leads to forgotten changes and inaccurate records. Set a phone reminder if needed.
Quarterly audits: Visit your unit every three months to verify your inventory matches reality. Check for any moisture damage, pest activity, or shifted items. This practice is especially important in Colorado's Gunnison Valley, where temperature swings can affect stored items.
Annual value review: Reassess estimated values yearly. Electronics depreciate 20 to 30 percent annually. Antiques and collectibles may appreciate. Adjust your insurance coverage accordingly.
At Elk Mountain Storage , our 24/7 secure access makes these maintenance visits convenient for local residents and seasonal visitors alike.
Free Inventory Sheet Templates
Several organizations offer free, downloadable inventory templates that meet insurance documentation standards.
Google Sheets: Search "home inventory" in the template gallery. The built-in template includes columns for photos, receipts, and warranty information. Free with any Google account.
Insurance company templates: State Farm, Allstate, and USAA provide free inventory worksheets designed specifically for claims documentation. These templates include fields for serial numbers and purchase receipts.
NAPO template: The National Association of Productivity and Organizing Professionals offers a comprehensive Excel template with built-in formulas for calculating total value by category.
Sortly free tier: The Sortly app allows 100 free items with photo integration. Export your inventory as a PDF report suitable for insurance purposes.
Common Inventory Mistakes to Avoid
Storage industry data from Public Storage reveals that 58 percent of renters make at least one critical inventory error. Avoiding these mistakes protects your belongings and simplifies retrieval.
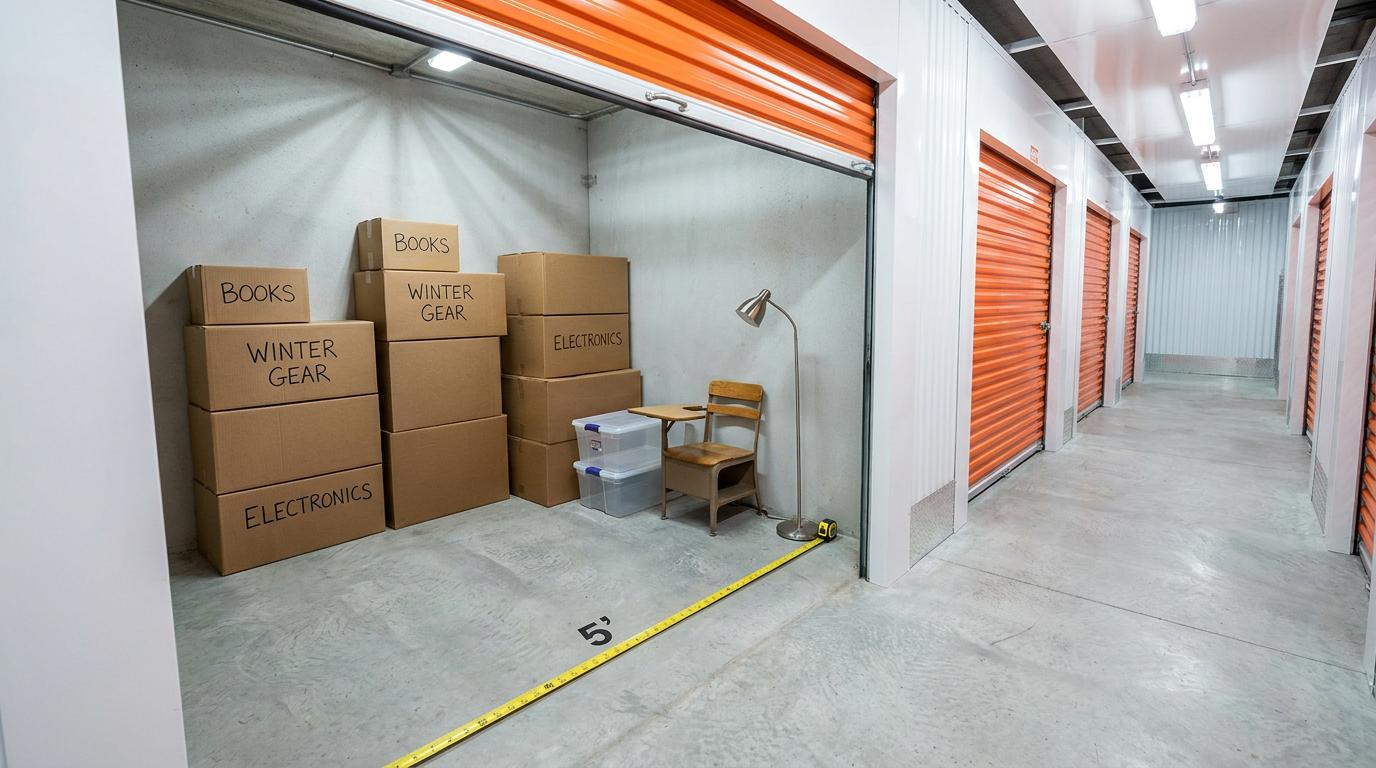
Mistake 1: Vague descriptions. Writing "misc. kitchen items" provides no useful information. Instead, write "Box K4: slow cooker, blender, 12 coffee mugs, silverware set for 8."
Mistake 2: No backup copies. A single inventory list can be lost, damaged, or become inaccessible. Maintain at least three copies: one digital in cloud storage, one on your phone, and one physical copy at home.
Mistake 3: Forgetting to update. An outdated inventory is nearly as useless as no inventory. Build updating into your routine by keeping your spreadsheet bookmarked on your phone.
Mistake 4: Ignoring item condition. Documenting condition at storage time protects you from disputes. If an item was already scratched before storage, your inventory proves it.
Inventory Tips for Business Storage
Business inventory requirements differ from personal storage. The Small Business Administration recommends additional documentation for tax and accounting purposes.
Include purchase dates and depreciation schedules for business equipment. Track asset tag numbers if your company uses them. Note whether items are fully depreciated or still carry book value.
For retail inventory, record SKU numbers and quantities. Update counts weekly if you access stored merchandise regularly. Consider barcode scanning apps like Stockpile or inFlow for efficient tracking.
Maintain separate inventory files for business and personal items if you share a unit. This separation simplifies tax preparation and insurance claims.
Quick-Start Inventory Checklist
Use this checklist to create your storage unit inventory in under 60 minutes for a standard 10x10 unit.
- Choose your tracking method: Google Sheets, Excel, or dedicated app
- Create your template with seven essential columns
- Gather supplies: markers, labels, smartphone, measuring tape
- Assign category letters: K, B, E, S, D, or your own system
- Label all boxes on two sides plus top before loading
- Photograph contents of each box before sealing
- Record items at appropriate detail level based on value
- Draw a simple unit layout map
- Save backup copies to cloud storage and keep one physical copy
- Schedule quarterly audit reminders on your calendar
Starting with a proper inventory system saves hours of frustration later. Whether you store seasonal gear, business equipment, or household items during a move, documentation protects your investment and simplifies access.
|